Showing posts with label scots pine. Show all posts

Monday, 15 September 2014

Scots pine starters - 2 years later


This is the end of the second year of growing these Scots pines from seedlings. They are a bit different to grow than other broad leaved species in that they seem a lot slower - taking a long time to grow roots and stabilise themselves in the pots. This is nice in that you can take your time to arrange the surface roots - unlike Oaks which would have massive tap roots circling the pot in 2 years.

These are the 2 prime pines - now planted over into the new air-pots. There is a 3rd one which is ok and will be used to experiment on other soil types and a 4th which will be a planted out in a quiet flower bed to retire.

I wire a big bend into the trunks to make them a bit more interesting - no s-bends just a single curve. This takes about 4 months to set - and by the end of the year the wire marks are not visible any more. The large one was too stiff to bend by the time I got around to it.

All of these pines that I am currently growing have a good selection of lower growth. I have removed the tightly clustered lower growth to avoid major trafic nodes and have a nice spread of shoots to choose from when i sacrifice the upper sections.

The largest is now 22mm thick and the rest are about 18mm. I believe that a good root colonisation is responsible for the enhanced growth of the big one. The fungi seem to prefer the clay pebbles to the coco media - so i may plant the last good pine in pebbles and see what it does.
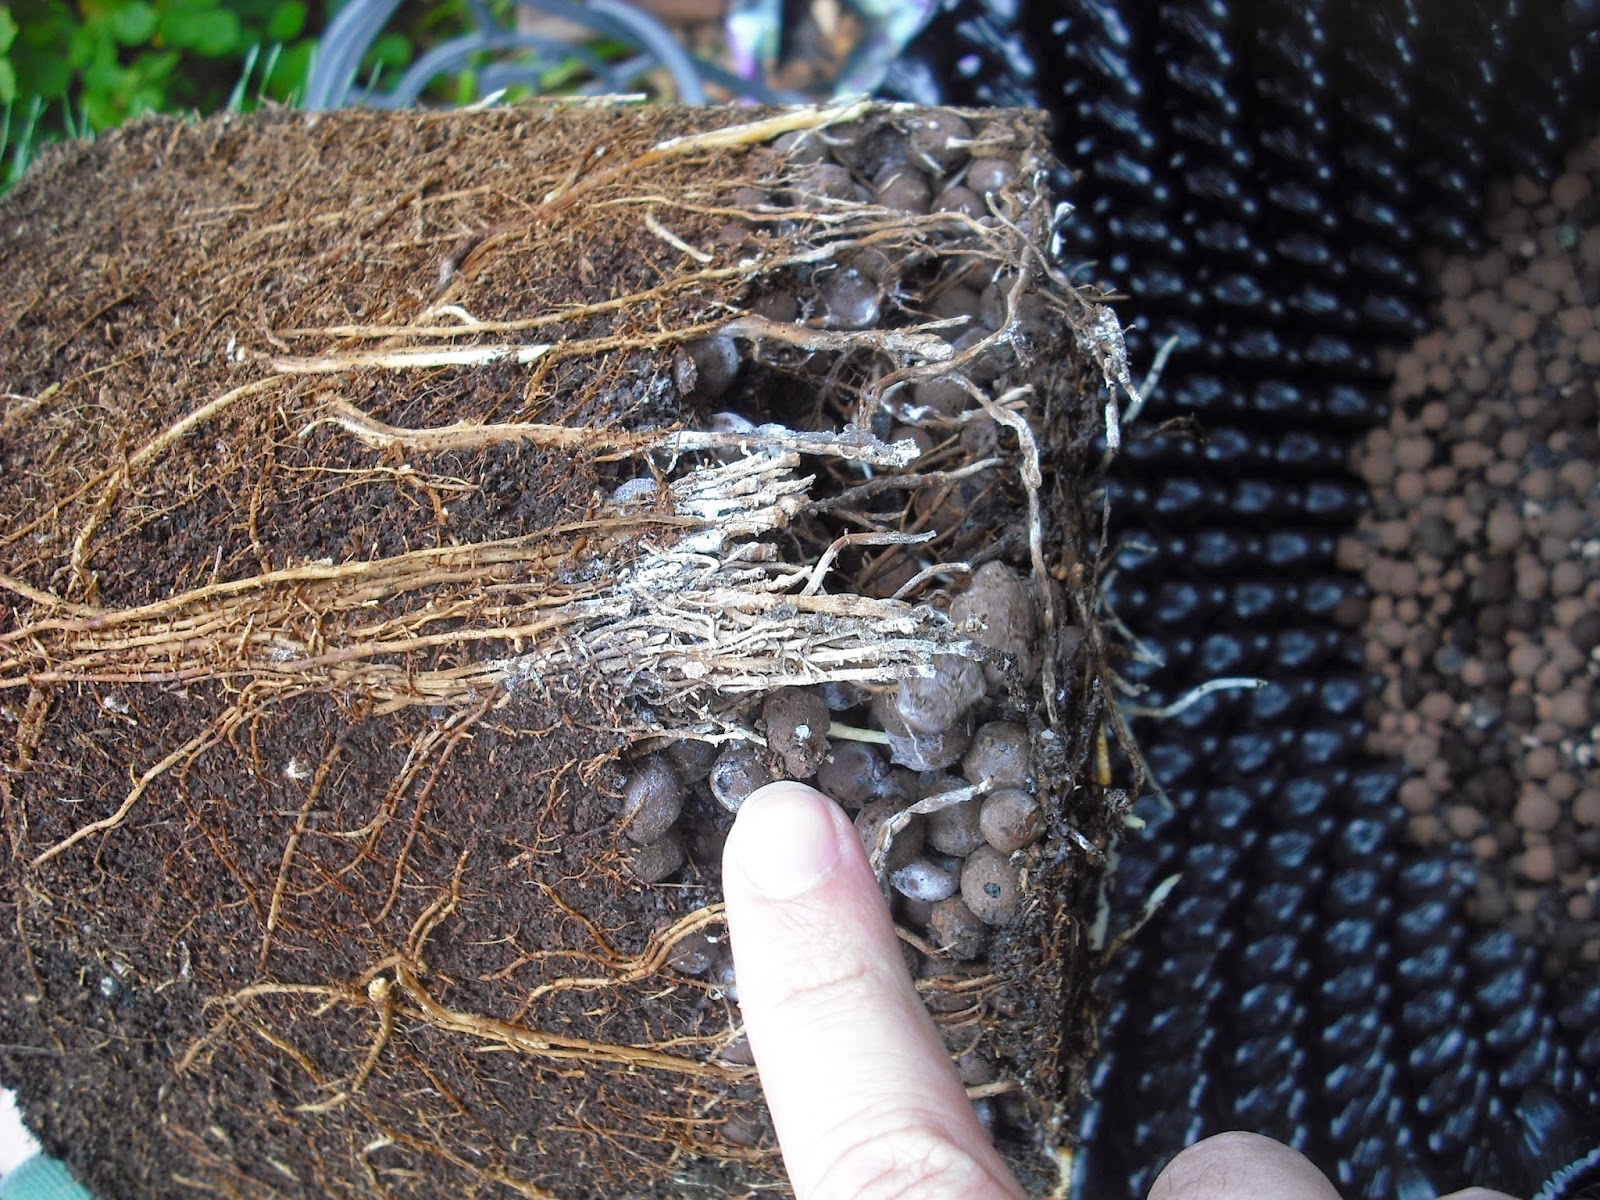


The more vigorous one has quite a good colonisation of the roots by Mycorrhizal which probably explains why it's so much bigger than the other. I preserved all of the roots which were visibly colonised.

I was planning to move them over to colanders but discovered these air-pots which seem to be the ideal solution to the problem. I had thought that I was a genius for discovering them and using them with pines - but I know that several others have beaten me to it.


Here the same 2 pines are last year at about this time of year.

I potted them now in the late summer once the growing was over but the roots still active. They should settle in nicely over the next few months and then have a big start to the spring.

Here are the roots after 2 years in coco. Even at this stage it's still not too root bound - although this is probably the right time to move them up to a better pot. I didn't want to disturb the roots too much at this time of the year so I moved them over like this. The air-pot should clear up the few wrap around roots in there.


So after 2 years of trying the canna soils the coco coir media of the professional plus is the way to go for me.

These are planted again into the coco growing media with clay pebbles lining the bottom of the pots.


Sunday, 25 May 2014

Pine trimming


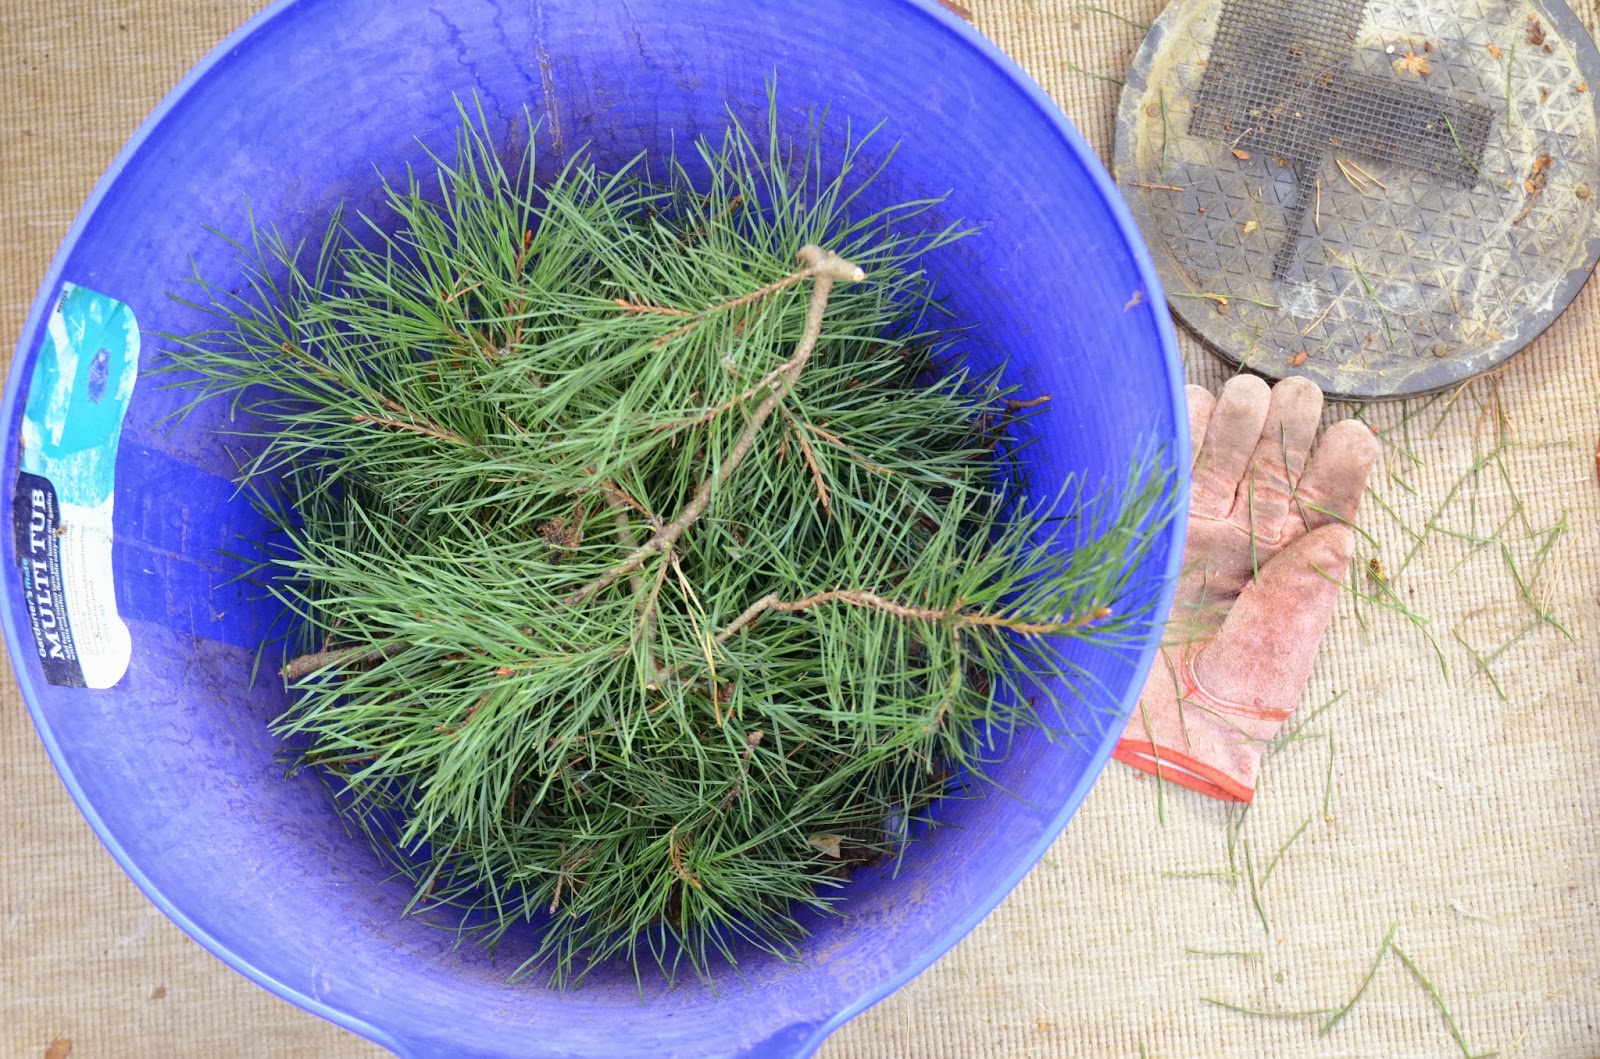
I've been nibbling away at my large pines over the last few weeks to keep the new growth in check. As you can see there were many candles that needed trimming. It's quite an even growth with no slow zones and no dominant apex - just good balanced growth.

I have taken off the very strong candles as they show up and left the little ones untouched. I'm not pinching but rather waiting until they are mostly extended and I can see the needles forming. This allows me to cut precisely and leave the number of needles I want in the area. I'm leaving 10 pairs mostly.

I am also trying to leave things a little untidy as I don't want it to look like topiary.


I am also undecided as to the front as there are several good angles. Initially I liked the left immediately above image on the left as the front - but the crown is too heavy for this. A little trimming may fix this - not something I want to do in a hurry though. Plenty of time to decide.


The medium pine is running a few weeks faster than the large one as usual even though they sit together on the bench outside in identical conditions. I have also only trimmed the dominant areas or candles to keep things balanced. I do need to do another round to get everything down to the desired length.

Both of these were repotted this year so I am going gently on them.


Tomorrow if I feel energetic I will do the final fine trim on this one for the season. I want to get it done early so I don't miss the timing for setting next years buds.


The entire apex has grown after I purchased the collected tree - and is now taking a lot of work to get under control - but I have the luxury of almost infinite density there now. Every single needle on the top has tried to shoot - so its been a lot of nibbling.

Also - neither of them contain any wire at the moment so that's all got to go in still. I think they will look quite good by the time it's all done.

It's been enjoyable getting to know these pines and seeing now differently two trees of the same species can behave under near identical conditions.

Monday, 21 April 2014

Scots pine starters


Last year I began an experiment of growing some of my own Scots pine material for bonsai at home. After 1 year of growing them the trunks are now 15mm thick and the roots are well established. The needle length has at least doubled.

After 1 year they are too stiff to bend so if you want movement on the trunks then they should be wired and shaped in the first year. I see everything over 20cm on these as sacrifice and want it to grow as quickly as possibly. One of the lower shoots will be trained as the actual trunk - I have plenty of choices there and I am in no rush.

The pots are standard hydroponic issue 6.5 litre pots. 

They took a long time to take root and be stable in their new pots due to the small cell root system they had when I got them. The wind was a real problem last year - they need to be sheltered and staked. Some had substantial disturbance of their roots by blowing over and having the pots falling over. All 4 are now free standing and stable through the winter outdoors.

I have tried a few different soils. So far the growth in coco coir is well ahead of any other growing media I have tried by a large margin. It will be interesting to try the old school colanders at some stage - next year I may move one over into a grow basket and see how it goes.

They went through most of the year on organic fertilisers. As the temperatures warm up they will go onto them again this year.

Where possible I try to use rain water on them - but quite often I am pressed for time so it's tap water. They don't seem to be bothered at all by the hard London tap water. I think Beech trees may not like the hard water much - something I am trying to understand.


They are of quite variable vigour. Some are extremely vigorous - especially the ones grown in the coco coir. This one seems to have budded from every bud on it from the ground up.

I am very pleased that none of my pines have any flowers this year. This means that they are not starving or stressed. So many Scots I see at bonsai shows are covered in flowers that it makes me doubt myself. Not sure how they deal with the bald patches.


On the apex I had so many large candles that I have already had to remove several - and more will need to be removed. I will work through each tree over the coming weeks and remove a lot of buds and candles as there are far too many at the moment. 


Here is how they started 1 year ago with a tiny cell grown root system.


Sunday, 30 March 2014

Big pine repot


I decided to take the risk and repot the large field-grown Scots pine I bought last year as knew that it needed to have the old soil removed for it to really thrive. It has had a good year with plenty of food and water and was strong enough to deal with the trauma of the transplant.


I allowed the soil to dry for a few days as its much easier to remove than if it was wet and muddy. The tree and old soil was very heavy and hard to work on - leaving my hands covered in blisters - but it was the right moment for the work with the new growth just starting to swell. The big risk is that the trauma will loose me some of the top quality back budding that developed last year.


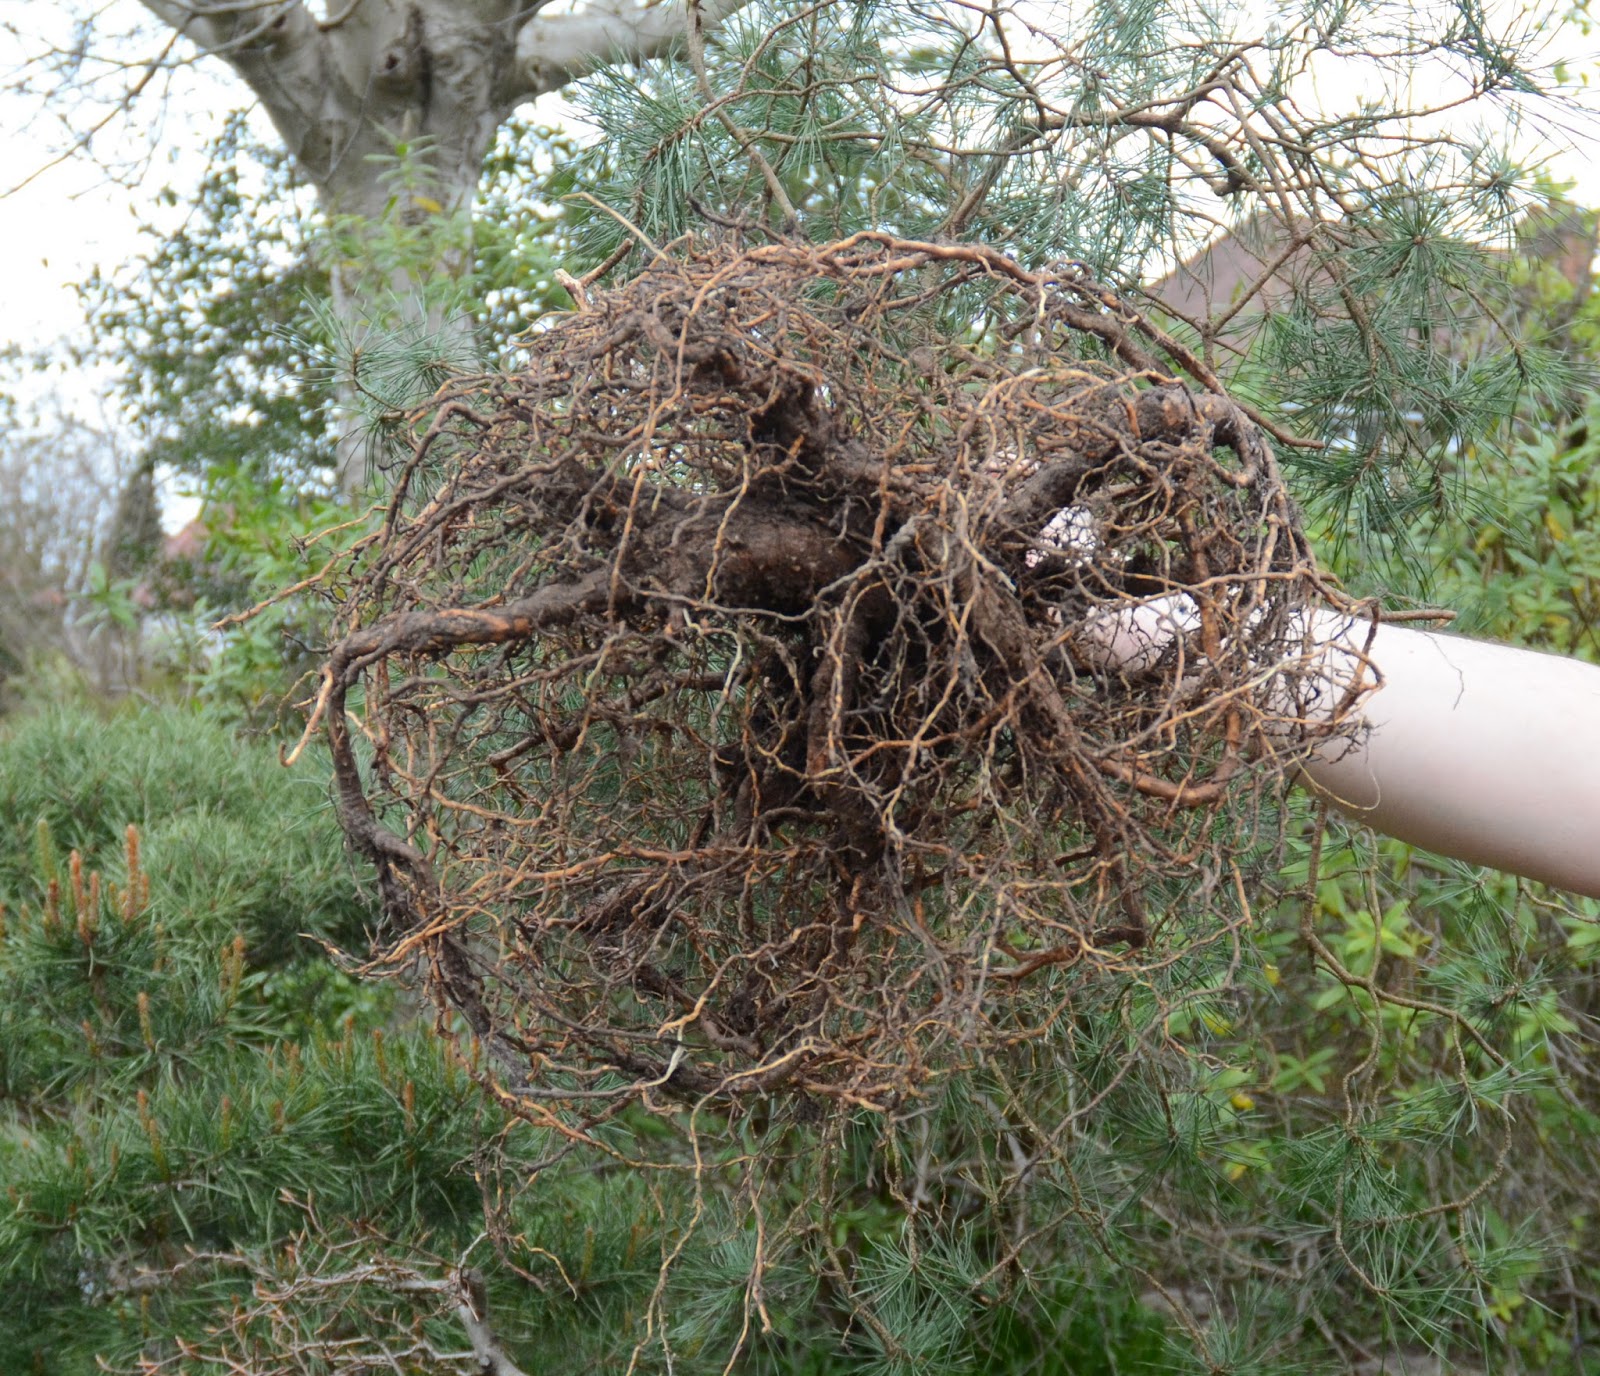
The old soil from field growing contained heavy gravel and some chunks of flint. There were large dry sections with no roots because the rocks and heavy soil made it hard for the water to penetrate the dry areas. I hope it won't be too upset with the bare root treatment - I have waited until the perfect moment to repot it and based on previous experience it will continue to grow as if nothing has happened. The improved breathing and watering around the roots should give a useful boost in vitality as the season progresses.


Once I had cleaned off all the old soil I could see that 2 major roots were growing upwards which couldn't be removed now. Once the rest of the root ball is mature enough they will be dealt with. The surface roots at the base of the trunk will then be quite good.


The clean root ball was still quite nice. I had spent a few hours cleaning out the old soil and trying to damage the roots as little as possible. I also didn't want to use water pressure to clean the roots as I wanted them to hang onto as much of their beneficial fungus as possible. I also added a few sections of old roots to the bottom of the new pot to help the fungii even further.


I took a chunk off the bottom of the lowest taproot to seat the rootball deeper into the pot. Once it was positioned I began gently filling and working into the gaps making sure there were no air gaps under the base. I added further soil in by layers and worked it carefully around the roots. Filling the pot in one giant pour and then poking it frantically with chopsticks ends up traumatising the poor roots.

The large training pot is from Kaizen - and the soil is all the usual stuff. The draining layer is large Canna clay pebbles. Then its supalite and pinebark with a bit of fine biosorb.


Some of the roots above the soil level will be trimmed off in 2 years time once the roots below soil level have caught up.


A few big chunks of root removed were removed - none close to the trunk - all from the ends of the roots where they had formed heavy nodes at the edge of the pot.


I lowered the soil level around the base of the trunk in preparation for the next repot in 2 years time. I intend to lower the soil level by about 1 inch at that time to bring the whole pot down to the level that the soil is against the trunk.

The tree was then watered heavily to clear out the dust and settle it all in. As per usual I watered with canna rhizotonic and light organic fertiliser to help the roots recover. I will be watching anxiously over the coming weeks to see that it recovers.


Thursday, 6 March 2014

Scots pine potting problems


I had to remove my pine from its pot rather brutally. Very annoyed to lose a pot - but I really didn't have much choice.

While a baked clay substrate that doesn't break down is very nice, it also doesn't compress, so if you have any reverse taper (or a large inner lip) on your pots it can be difficult to repot a tree after a few years.

I did spend quite a bit of time trying to get it out and eventually gave up and used the hammer. A light tap eventually got it out.

The straight line on the pottery shard illustrates the inner curvature of the pot. I do check all the new pots I buy now to make sure that there will be no difficulties getting the bonsai out of them.


In the end the roots were fine - and that's what counts.

Sunday, 29 September 2013

Pine Work


I spent some time this weekend doing some trimming and wiring on one of my pines (the little one). I think this one is onto its final branch selection now - and at last I have found the right front for it - which I cunningly neglected to photograph. I have left some of the lower branches very foliage-heavy as I want some extra vigour there because they are too skinny at the moment.

Sadly I have run out of wire and I have had to order some more to finish the job. I am now doing a full wire of all the branches from the trunk to the foliage. Its been an interesting experience with this one as I'm trying to put some extra movement into the straight inner branches while keeping it real and not resorting to cheap spiral tricks to tighten it up.


Here it is back in 2009 when I acquired it. It's come a long way in 4 years. 


I now have some really nice deltas of foliage forming. Some more to come - but these are looking quite nice already. Each new generation of branching will now be shorter - and hopefully I have matched them correctly to the needle size.


I took off all the spare branches once I was decided on the final ones - and removed any undesirable internal branching. I have also removed a lot of the needles on the undersides of the branches as they often turn to buds and make a nuisance of themselves.

A lot more work to do on this one - but an enjoyable way to spend a sunny Sunday afternoon.


Sunday, 22 September 2013

Boring

This image is quite boring. Nice bokeh on the background maybe. Boring to someone who does not grow pines. But to me this is very interesting at the end of a growing season - I see this change in needle length - also the 1 year old needles are being dropped already. There is also a nice big bud formed for next years growth.

As you can see the old growth is very leggy. Very long thin twigs with small needles at the ends. This is a tree that is really struggling to keep going. Some people like this in a bonsai - the wizened old tree clinging to life - I don't.


Here is one of the growth tips. My Scots pines usually hold their old needles a bit longer than this - but this new tree seems to have decided that all the old ones were rubbish and that the new ones were much more effective. Also important is that there are multiple buds at the junction where this years growth began. In the past the area where the old needles have dropped has been especially good for developing new buds.


There are new buds forming a long way back on these skinny twigs - some even further back than in this image. I estimate some to be on areas which haven't had needles for at least 5 years now. I hope to be able to cut back to these next year sometime. The timing of the cut back is critical with pines - or you can get stuck in an 18 month wait for buds - there is only 1 time of the year that you can cut Scots pine and get good buds in that year - around the time I pinch candles I do any heavier cutting.


I have been paying attention to the feeding and soil care. This year I have tried a new product on the pines - the usual Canna products - but I am using the organic range now. I have also been using the biobizz fishmix to give the pine soil microbes an extra hit - instead of the fish emulsion - as it is easier for me to get. I have also used some Cannazym this year which does help the soil structure - I noticed a difference in drainage on this pine quite quickly - allowing me to deliver nutrients to the roots more effectively.

This was the starting point for the new pine I bought in May this year. So far all I did was remove the dead twigs and get it comfortable and well fed. Almost every needle in this picture is gone and replaced with new needles that are 3 times the length - it is completely different already.

I would also love to get it out of the mud its living in - so I will get a new pot and plenty of soil for February if I feel its ready for the big transition. Past experience tells me that if I do it in February and keep lots of roots that it will barely notice the re-potting. I have seen a local wholesale dealer with the right training pot - so how do I get someone in retail to sell me one? Something to keep me busy over the next few weeks.


Here it is at the end of year 1 from the same angle. If I had bought it a month earlier there would have been twice as much foliage - another lesson learnt - the growing season starts in the beginning of April. Still - it has had a good summer with plenty of food and nutrition so I am hoping that it has enough energy in reserve to do a complete bare root and transplant over the winter.


Can you grow bonsai without being a good gardener ? Boring perhaps - but I believe that the horticulture is vital to successful bonsai.


Saturday, 9 June 2012

Pine Trimmings


Due to being tired and overworked I delayed my pine work a few days. I find the work on these bigger trees to be very tiring. Also!!! - I got a new book i wanted to read it before I took on this pine. The benefits of working and being tired is being able to afford a few nice books. 


I am once again amazed at the vigour on this Scots pine. I think that I have most of my primary branch structure and foliage pads in position. There is still quite a bit of wiring and needle removal to be done though. I have finished the first rough trimming now. Once some of the bulky outer foliage was cleared I was surprised to see how much the adventurous buds close in to the trunk were growing. Picture is a bit dark - but its dark in there close to the trunk.

I seem to have also solved the problem of having a second region trying to become the dominant apex. I did a lot of needle thinning and bud removal in the area and now my preferred apex is stronger.


I had adjusted the position of the tree so that the back of it got plenty of good sun - the growth on the back was very weak and i was going to have to live with it. It seems to have recovered nicely now - I haven’t trimmed there at all - just wiring it a little later on in the year. Once I increase the number of needles out back the balance will return.


I need to clear out some of the old wiring in there and check that everything stays in place. There is some heavy work in there with raffia that will come out - and hopefully the underlying branch will be mostly unscathed. The other lite stuff is also biting in so I'd better hurry up and get it out.

Monday, 4 June 2012

Pine madness

Today I brought in the first of the larger pines for its annual pruning. Its gone completely bonkers and covered itself in 12" candles. This one was covered in flowers last year - this year there are 2 small ones - so I'm certain its no longer stressed. The watering and fertilser regime are working very well - the needle colour and vigour are fantastic.


I think the early hot start to the season certainly helped it along.


This will be the last year that this one is allowed to grow like this - I have the primary structure that I’m looking for - so next year is the full JBP candle removal and back budding.

This afternoon and tomorrow i will be trimming and wiring this one.

I think my timing for this is similar to the traditional time when the JBP's are done - so I'm getting better at it now.

Next up is the big Scots pine. It too has grown wildly and now looks like Don King's hair.

Wednesday, 28 March 2012

Scots Pine


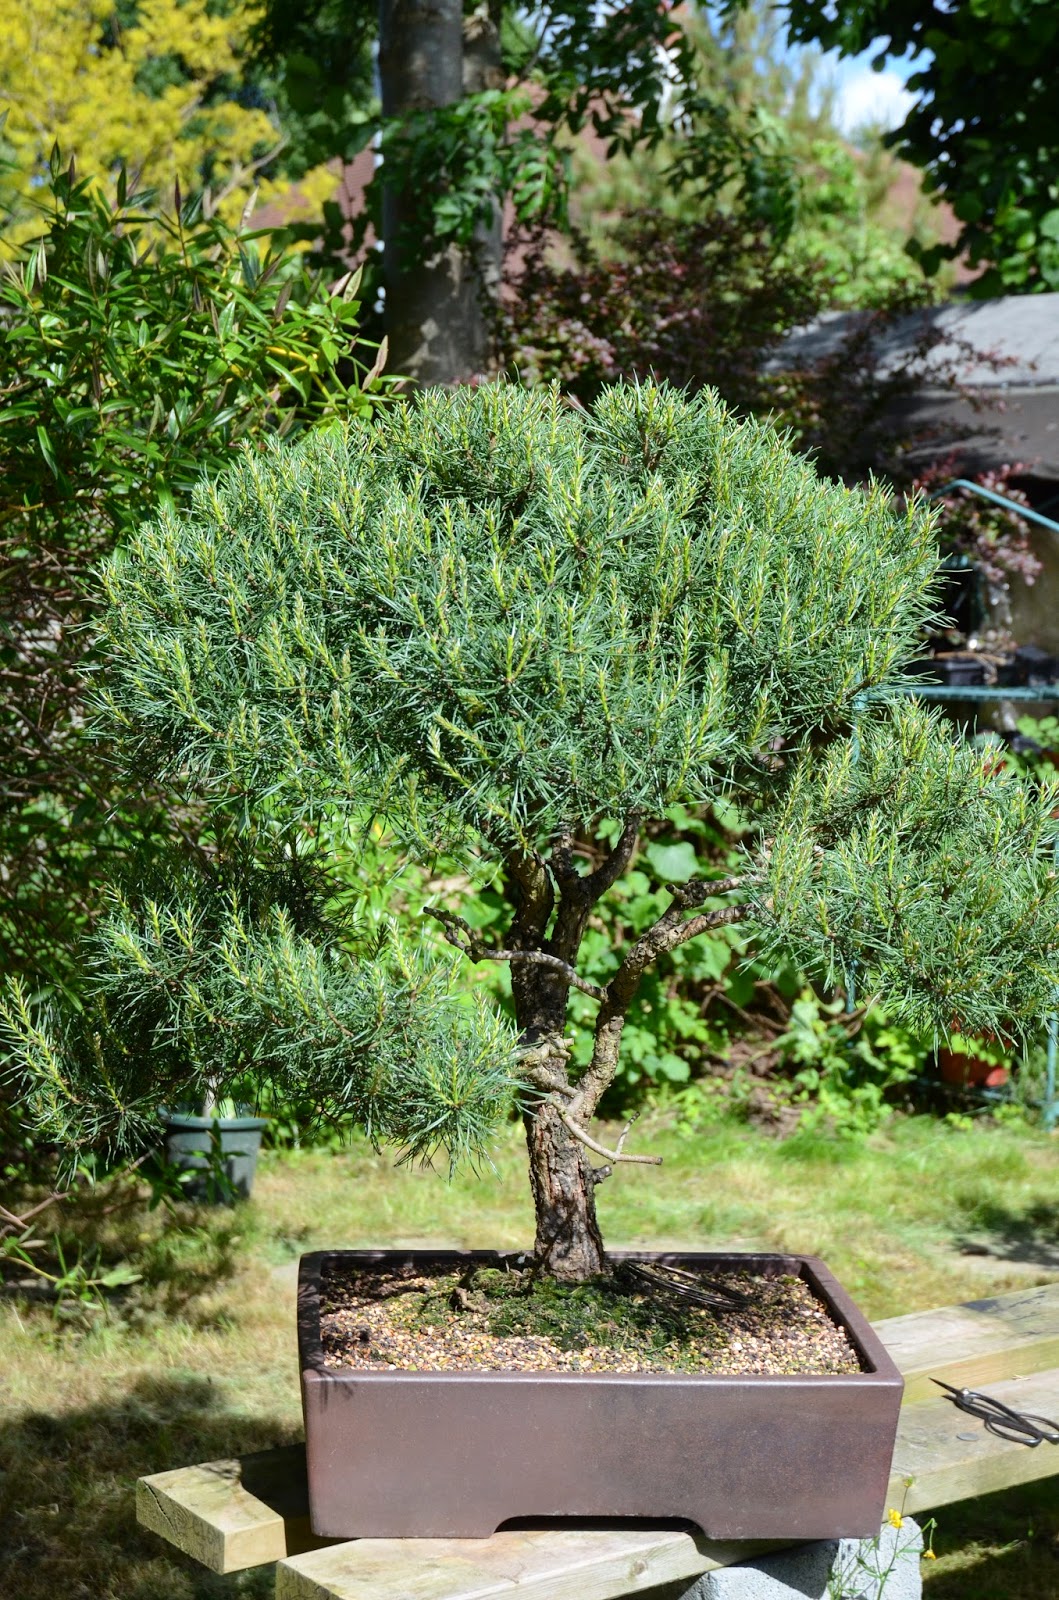
This is my little Scots pine that I've been working on for the last 3 years. This year is going to be an important one as its near the size and shape that I want. The shape is simply how the tree expressed itself once I had wired it a little and got some ramification happening. Its very healthy now after being repotted 15 months ago and soon its ready for some pinching and wiring.

Its planted in pure biosorb - with a little pine bark to inspire the Mycorrhizal fungi - so it needs regular fertiliser to keep it happy. I'm still using Canna 3 times a week and I see no reason to change given the results. Once a month I give it a hit of fish emulsion - also to keep the root fungi happily fed and feed the other soil microbes.

The last few years this one has had a lot of flowers on it - I'm hoping not so much this year as they leave a nasty scar/bald-patch on the tree.


I also removed a lot of new buds from it as almost every needle has split and formed a new bud. My poor wife wasn't pleased when she discovered me using her cuticle cutters to remove buds - but they are almost the perfect tool for the job.